Google
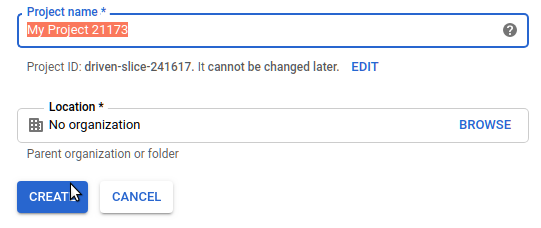
Go to the Google Developer Dashboard and create a new project.

Give it a name.
Select the project in the top left next to the GoogleAPIs logo. Click “Credentials” under the menu on the left of the screen.

Click “Create credentials”:

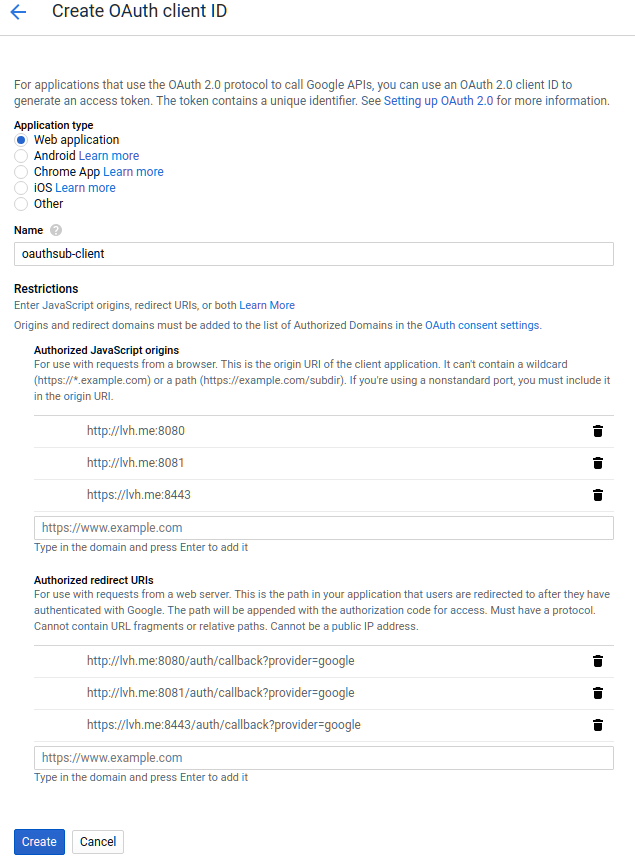
Select “Web Application”. Give it a name. Then fill in the Javascript origins:
and authorized redirects:
- http://lvh.me:8080/auth/callback?provider=google
- http://lvh.me:8081/auth/callback?provider=google
- https://lvh.me:8443/auth/callback?provider=google
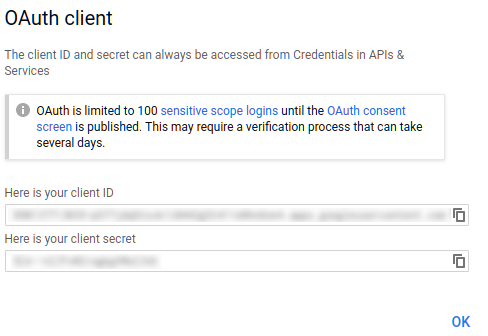
Then click “create” and copy out the client id and secret from the popup.
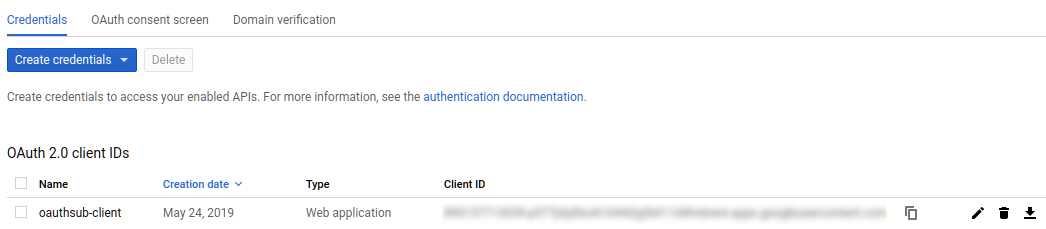
The client id is also available on the dashboard after you create it:
Note
We add three authorized domains for different testing scenarios. The 8081 port will be the raw service. 8080 will be an nginx reverse proxy listening over unencrypted http. 8443 will be an nginx reverse proxy listening over encrypted https (with a self-signed certificate).
Note
As of January 2019 Google has recently changed their developer settings and requirements for OAUTH access. They used to allow localhost and now they do not. An alternative is to use lvh.me which currently resolves through DNS to 127.0.0.1. Be careful, however, as this is a common solution cited on the interwebs but no one seems to know who controls this domain and they may be nefarious actors.
For deployment you’ll want to add a redirect like this:
https://server.yoursite.com/auth/callback?provider=google